Well, gotta start somewhere. Learn as you go. And realize when you are too far in, and seek professional help. Notice I didn't say, "realize when you are too far in, back out" or "seek professional help". I just think it's important to acknowledge when you are too far in. Whether you change course or not just depends on the situation.
I honestly think if I had an unlimited well of money, I'd still do it this way. It's just my nature. I want to say "I did it", not "I bought it". Will it take longer, yes. But that's ok.
So then I whipped out the flap wheel on the angle grinder and started to expose the areas where the spot welds were holding the cowl panel on. Then pulled out the drill and spot weld drill. And of course, you are going to need a grinder with a cutoff wheel. Hammer, center punch, chisel, and a sailors' vocabulary.
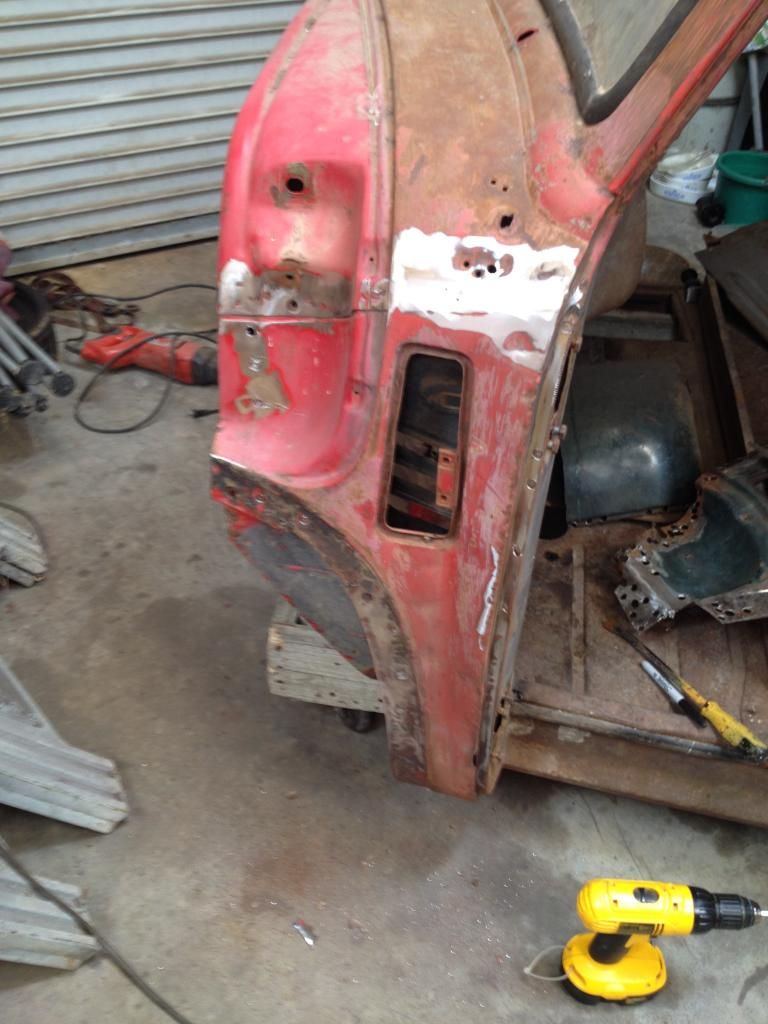
I'll just say that this is the second cowl that I have personally removed. in 1948, they used a whole lot more spot welds than in 1949. That being said, they still used a lot of spot welds in 49. And it isn't always evident where the spot weld actually is. So there were several extra spots drilled out that will have to be welded shut. Part of it.
Now there is one trick to removing the cowl. There is a seam across the exposed portion of the panel where the side cowl panel and the top cowl panel join. The seam is not noticible but is there and is covered with lead solder. Lead was the bondo of the time. So the blue tip wrench with a rosebud was necessary to sweat it out of there, exposing spot welds underneath.
Sweating out the lead video
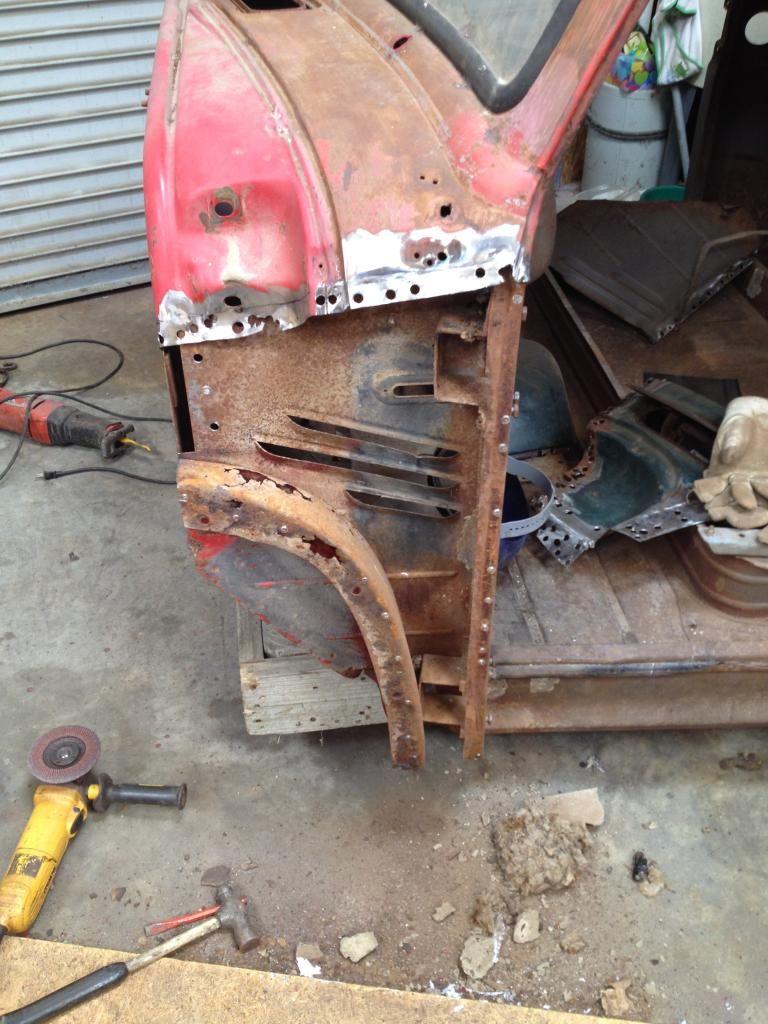
Once all the spot welds were removed, and the corner welding points were ground, the panel can come off. Theoretically. Well, there is always just one little spot weld that holds on, that you have to hunt for and drill more holes than necessary. But I found it. Finally. Then the cowl was off. And with that exposed the inner support arm, a very large mud dauber nest, and a rats nest. And more rust. I already knew that the inside brace was rotten when I removed the fenders. Its just one of those places that gets constantly bombarded by the forces of nature. Right behind the wheel, mud packs up in there, gets wet, and stays wet. So I had already braced for replacement. And, as a bonus, the patch panel off my parts truck came with the brace pre-attached. So now I just have to cut out the old, and weld in the new along with the new interior footwell panel. The less welding and patching that I have to do, the better off we will be in the long run.
So that was the start to what will most likely be a 6 month project of getting the bodywork done. I will add that I was offered a sandblasting machine to use for frame and cab derusting. Definitely going to take up that offer. Till next time...


No comments:
Post a Comment